ProPublica has created an interactive timeline-maker TimelineSetter. You can create a spreadsheet with special formatting & layout, and then load it into the code that you’ve installed on your website.

TimelineSetter 0.3.2
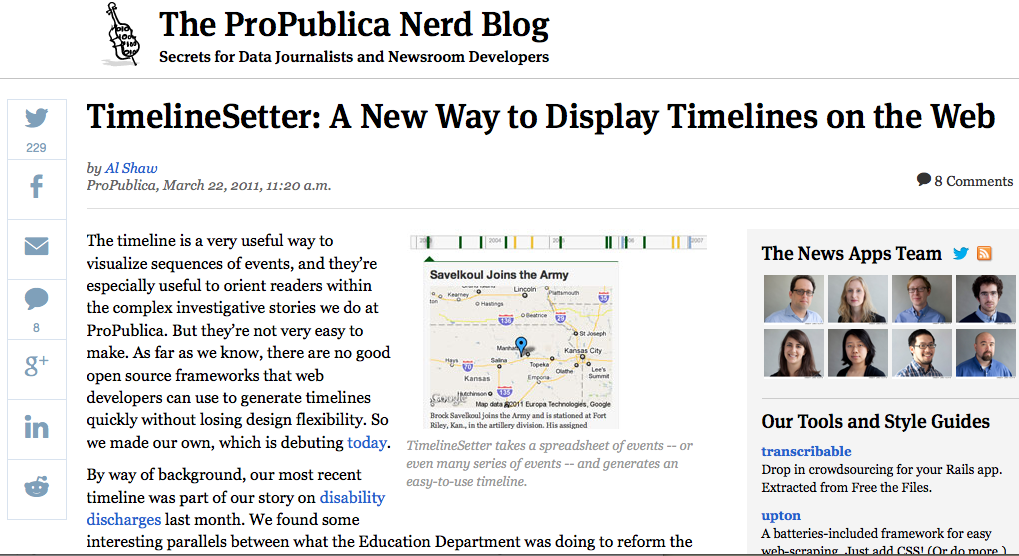
TimelineSetter creates beautiful timelines.
It is a command-line utility that takes a specially-structured CSV file as input and outputs standards-compliant HTML/CSS/JavaScript. It supports any span of time from minutes to years, and supports multiple parallel event series in a single timeline. It can handle custom descriptions and even arbitrary HTML in each event “card.” It creates fluid embeds that will look great at any width.
TimelineSetter “bakes out” timelines, ready for uploading directly into your CMS, Amazon S3, or however you typically serve static files. It requires no server-side processing at all once you’ve generated a timeline.
TimelineSetter source on Github.
Assorted Docs and Samples
- TimelineSetter Ruby source documentation
- timeline-setter.js annotated source
- A TimelineSetter demo using Twitter data
How it Works
The project is broken into two parts: a Ruby package (along with a binary) for generating the assets, and the HTML, CSS and JavaScript for the timeline itself. TimelineSetter will create a unique HTML page that embeds a JSON object with your data. The CSS and JavaScript are identical for every timeline created, so you can host those centrally and simply point to them when you deploy a timeline, or (with the minified option) you can package them up with your HTML and paste it into your CMS all at once. You can customize the CSS to match the look and feel of your site.
Dependencies
TimelineSetter relies on TableFu, as well as the JavaScript libraries Underscore and jQuery. All of these are either installed along with TableSetter, or packaged with the source. It has been tested with jQuery 1.5.1 and Underscore 1.1.5.
Installation
Install TimelineSetter through RubyGems on Unix-like OSes:
gem install timeline_setter(Note: We haven’t tested using the TimelineSetter tools on Windows even once, though the timelines themselves have been tested in modern browsers on Windows, Mac and Linux.)
The `timeline-setter` command
After TimelineSetter is installed, the
timeline-settercommand should be available in your shell. The command looks for a CSV file to parse and outputs static assets. At any point, you can find help by runningtimeline-setterwithout any arguments, or by adding the-hflag. Run the command like so:timeline-setter -c /path/to/data.csv -o /path/to/output/directoryRunning
timeline-setterwith no-ooption will generate the timeline (and supporting assets if applicable) within the current directory.Full list of options:
-c CSVPath to your CSV file.-o OUTPUT_PATHPath to output timeline and assets. If absent, timeline will be created in current directory.-aDo not output supporting assets such as CSS and JavaScript. This is useful if you’re customizing those and don’t want your versions clobbered.-mCreate a minified one-page version of your timeline with all supporting assets inline.-OOpen a browser to your new timeline after it is generated (currently Mac OS only).-iAdd a custom interval for background “interval notches.” These take the format of JavaScript date getter methods. For example, year would beFullYear.All the options are available below. If absent, TimelineSetter will attempt to automatically create interval notches based on the first and last dates in your timeline.-hPrint help to standard output.Setting Up Your CSV File
TimelineSetter looks for certain column names in your CSV file in order to generate a timeline. All columns are required, though as you’ll see, some of them can be left blank (see a sample CSV). Here’s a summary of each column and its significance:
date
The date the event happened. Right now, TimelineSetter only supports single-date events, but this can be specific down to the second. The generator will try its best to parse out human dates. Try “March 20, 2010,” “3/20/2010,” “Mar. 20, 2010 11:59 PM” etc.
display_date
The date displayed on the event’s card in the timeline. If this is blank, it will fall back to
datedescription
A description of the event.
link
A URL to send users to more details about an event. This will generate a “read more” button at the bottom of the card pointing to the URL.
series
A string representing the name of the series of events this particular event is a part of. TimelineSetter will find all the unique series among events in the spreadsheet and assign both colors and checkboxes for them at the top of the spreadsheet. Events not assigned to a series will be part of the “default” series, which have their timeline notches colored charcoal, and have no associated checkbox. Note: As a corollary, if you only have one series, it is best not to assign a name.
html
Any arbitrary HTML that will be inserted above
description. This field may contain image tags, YouTube tags, etc. — nearly everything except<script>tags. If you choose to use JavaScript, you must do it inside an iframe and call that iframe inside this field. Note: If you put an image or iframe in this field, make sure to setheightandwidthattributes, or the card may not extend around the image.Folder structure and deployment
After you’ve generated a timeline with the
timeline-settercommand, you should see a structure much like this where you’ve specified your output:|-output |---timeline.html |---javascripts |-----timeline-setter.js |-----vendor |-------underscore-min.js |-------jquery-min.js |---stylesheets |-----timeline-setter.cssDropping the whole folder onto your server or an asset host like S3 will allow the app to run self-contained. It requires no server-side processing at all. To drop into your CMS, simply copy the relevant bits of
timeline.htmland paste into your site’s template. Then, adjust the<link>and<script>tags to point to their appropriate destinations.Definitions
The timeline is made up of non-clickable interval notches used to denote periods of time, and event notches, which, when clicked, reveal their associated event cards.
Configuring the Timeline JavaScript Embed
Although the
timeline-settercommand generates a JavaScript embed that prepopulates your data, you can also create this yourself by callingTimelineSetter.timeline.bootwith an array of card objects, and a config object.var myTimeline = TimelineSetter.Timeline.boot([{card}...], {config})The config object looks for
interval,container, andformatteroptions.The
intervaloption takes an interval in the form of a JavaScript date getter. Thecontaineroption allows you to inject the entire timeline into an element with the given selector. (By default this is#timeline). Finally,formatteris a way to format dates on the timeline’s interval notches. Write a formatter like so:formatter : function(d, defaults) { var months = ['enero', 'febrero', 'marzo', 'abril', 'mayo', 'junio', 'julio', 'agosto', 'septiembre', 'octubre', 'noviembre', 'diciembre']; defaults.month = months[d.getMonth()]; return defaults; }Styling Your Timeline
TimelineSetter timelines are fully style-able. The default “ProPublica theme” stylesheet is packaged alongside each generated asset bundle, and is available in
stylesheets/timeline-setter.css. You can alter this stylesheet, or replace it completely. Here’s a guide to do that.Overview and Styling the Container and Top Matter
All TimelineSetter CSS is scoped within a namespace starting with
TSexcept for the outermost container (by default#timeline.) The container is configurable with thecontainerargument in the TimelineSetter boot function’s config object.Upon first glance, it may not seem like there is much markup at all. That’s because we make extensive use of JavaScript (ERB-style) templating via Underscore.js — templates for each part of the timeline reside in a JST object at the end of timeline-setter.js.
Currently, series colors are hard coded in the JavaScript. We support a maximum of nine series colors (assigned in this order:
#065718, #EDC047, #91ADD1, #929E5E, #9E5E23, #C44846, #465363, #EDD4A5, #CECECE, they can be overridden in the “color priority” section oftimeline-setter.css). Technically you can create an unlimited number of series, but they will eventually fall back to the default charcoal notch color.Styling the bar, notches and cards
The position of interval notches is based on the interval of time between events as automatically determined by the JavaScript. Here’s a sampling of what you might see in interval notches:
year        => 2001
month       => June, 2004
day         => May 1, 2005
hour/minute => 11:59
second      => 11:59:22
The interval notches date spans themselves can be customized by using the
-iflag when generating a timeline. The available parameters areDecade Lustrum FullYear Month Week Date Hours Minutes SecondsThe JavaScript API
As of version 0.3.0, TimelineSetter has a JavaScript API that allows programmatic access to certain events, and the ability to activate cards. To use the API, assign the
TimelineSetter.Timeline.boot()function to a variable, and then use methods in theapiobject like so:var currentTimeline = TimelineSetter.Timeline.boot(options); currentTimeline.api.onLoad(function() { console.log("I'm ready") });Here are the API methods:
onLoad
Register a callback for when the timeline is loaded.
onCardAdd
Register a callback for when a card is added to the timeline. This method has access to the event name and the card object.
currentTimeline.api.onCardAdd(function(evtName, obj, card) {
  console.log(obj);
  console.log(card);
});
If you want to customize the card’s template, set
card.templateto an undescore template function.onCardActivate
Register a callback for when a card is activated (i.e. shown). This method has access to the event name and the card object.
onBarMove
Register a callback for when the bar is moved or zoomed. Be careful with this one: Bar move events can be fast and furious, especially with scroll wheels in Safari.
activateCard
Show the card matching a given timestamp. Right now, timelines only support one card per timestamp.

1 Comment
[…] For times-sake, though, the team decided to use an existing Javascript tool — the Knight Lab’s Timeline JS, to allow users to create their own personal timelines as a browsable interactive web page. See an example of a personal, visual Immigration Timeline here. […]